
Safety Precautions for Using the Cuisinart Hand Blender
Always ensure the blade is submerged before turning on the blender and avoid pulling it out while in operation. Start on low speed and gradually increase as needed. Keep loose clothing and long hair tied back. Never touch the blade with fingers or utensils. Avoid overheating by allowing the motor to cool between extended uses. Unplug the blender before cleaning or handling any parts to ensure safety and prevent accidents.
Regularly inspect the blender for worn or damaged parts and replace them promptly. Store the blender in a dry, secure location out of children’s reach. Follow all manufacturer guidelines for operation and maintenance to ensure longevity and optimal performance.
1.1 Essential Safety Tips Before Operation
Before using the Cuisinart Hand Blender, ensure the blade is fully submerged in the mixture to prevent splashing. Always unplug the blender before cleaning or handling any parts. Keep children away and avoid touching the blade with fingers or utensils. Wipe the unit with a damp cloth before first use to remove any dust or debris. Ensure the motor is cool and dry before storing.
1.2 Precautions to Avoid Accidents While Blending
Never pull the blender out of the mixture while it is running, as this can cause splashing or accidental contact with the blade. Always start on the low speed setting and gradually increase as needed; Avoid overheating by allowing the motor to cool between extended uses. Keep loose clothing and long hair tied back to prevent entanglement. Do not touch the blade with fingers or utensils during or after blending, as it remains sharp and hot.
Assembly Instructions for the Cuisinart Hand Blender
Align the blade attachment with the motor unit, ensuring it clicks securely into place. Attach the wand handle firmly to the motor, following the manufacturer’s alignment guide. Wipe all parts with a clean, damp cloth before first use to remove any packaging residue or dust.
2.1 Step-by-Step Guide to Assembling the Blender
Begin by attaching the blade assembly to the motor unit, ensuring it aligns and clicks into place securely. Next, slide the wand handle over the motor shaft, tightening it firmly. Attach any additional accessories like the chopper or grinder by aligning their connectors and twisting until they lock. Finally, verify all parts are securely connected before use. Always refer to the manual for specific attachment instructions.
2.2 Attaching and Detaching Accessories
To attach accessories, align the connector on the accessory with the motor unit’s shaft, then twist gently until it clicks into place. For detaching, press the release button located near the connector and pull the accessory away from the motor. Ensure the blade or attachment is secure before use and handle with care to avoid injury or damage. Always detach accessories before cleaning or storing the blender for safety and convenience.

Cleaning and Maintenance Guidelines
Unplug the blender before cleaning. Wipe the motor unit with a damp cloth and rinse the blade under running water. Dry thoroughly after cleaning and store properly to maintain longevity and performance.
3.1 Cleaning the Motor Unit and Attachments
Unplug the blender before cleaning. Wipe the motor unit with a clean, damp cloth to remove dirt or dust. Rinse the metal blade under running water and dry thoroughly with a soft cloth. Avoid submerging the motor in water. Regular cleaning ensures optimal performance and prevents food residue buildup. Proper drying and storage maintain the blender’s condition and longevity.
3.2 Drying and Storing the Blender Properly
After cleaning, thoroughly dry the motor unit and attachments with a soft, absorbent cloth to prevent moisture buildup. Store the blender in a cool, dry place away from direct sunlight and moisture. Keep it upright to avoid residual water contacting electrical components. Ensure the blender is out of children’s reach to maintain safety and prolong its lifespan.
Operating the Cuisinart Hand Blender
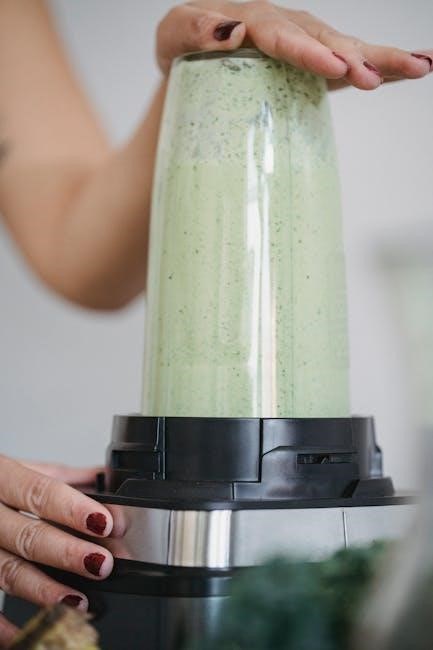
The Cuisinart hand blender is designed for easy operation with a slender wand and one-touch controls. It offers two speeds for versatile blending tasks, ensuring precise control and efficient mixing. The ergonomic handle provides a comfortable grip, making it ideal for extended use in various kitchen scenarios.
4.1 Basic Functions and Speed Settings
The Cuisinart hand blender features two-speed settings—low and high—allowing precise control for various tasks. Use the low speed for delicate mixtures like sauces or eggs, and the high speed for tougher ingredients. The blender’s wand design enables easy reach into pots, bowls, or pitchers. For optimal results, start with low speed and gradually increase as needed, ensuring smooth blending for both hot and cold mixtures.
4.2 Using the Reversible Blade for Chopping and Blending
The Cuisinart hand blender’s reversible blade offers versatility, with one sharp edge for chopping and a blunt edge for blending. For chopping, use the sharp side, while the blunt side is ideal for mixing and pureeing. Always handle the blade with care, ensuring it is securely attached. For optimal performance, keep the blade submerged during use and avoid applying excessive pressure, which could damage the motor.

Advanced Features and Techniques
Explore the Cuisinart hand blender’s variable speed control for precise blending and chopping. Use the reversible blade for versatile food preparation, enhancing your culinary tasks with ease.
5.1 Utilizing Variable Speed Control for Different Tasks
The Cuisinart hand blender features a variable speed control, allowing precise adjustments for various tasks. Lower speeds are ideal for delicate ingredients like yogurt or eggs, while higher speeds handle tougher foods. Use the trigger switch to gradually increase power, ensuring smooth mixing. This feature is perfect for emulsifying sauces, pureeing soups, or blending thick mixtures. The 200-watt motor delivers consistent power across all speed settings, making it versatile for both light and heavy-duty tasks. By adjusting the speed, you can achieve the desired texture efficiently and prevent overheating. This function is particularly useful for hot and cold mixtures, ensuring even blending without splashing. Start with low speed to incorporate ingredients, then increase for finer results.
The variable speed control enhances creativity in the kitchen, allowing you to tailor your technique to each recipe. Whether you’re making smoothies, chopping herbs, or mixing batters, this feature ensures optimal performance and control.
5.2 Tips for Blending Hot and Cold Mixtures
For hot mixtures, allow them to cool slightly before blending to prevent splashing. Use the variable speed control, starting low to avoid splatter, then increase as needed. For cold mixtures, ensure the blade is sharp enough for ice and frozen ingredients. Pulse the blender to handle thick mixtures and add liquid if needed to maintain flow. Avoid overheating by blending in short bursts and letting the motor rest. Clean thoroughly after each use to prevent flavor transfer and bacterial growth. Ensure the blender is BPA-free and durable for temperature changes, and use the appropriate attachments for specific tasks. Always follow manufacturer guidelines for safe and effective blending;
Troubleshooting Common Issues
If the blender doesn’t turn on, check the power plug and ensure the lock button is disengaged. For loose parts, tighten all connections securely before use.
If the motor overheats, allow it to cool down completely before restarting. Regularly inspect blades and attachments for wear and replace as needed for optimal performance.
6.1 Diagnosing and Fixing a Non-Working Blender
First, ensure the blender is properly plugged into a functioning outlet. Check if the safety lock is engaged and disengage it if necessary. Inspect the power cord for damage or tangles. If the motor overheats, allow it to cool for 30 minutes before restarting. If issues persist, consult the user manual or contact Cuisinart customer support for assistance;
For models with a reset button, press and hold it for 10 seconds to reset the motor. If the blade is stuck, gently clean it with a soft brush and warm water. Avoid using harsh chemicals that could damage the finish or electrical components. Regular maintenance can prevent such issues and ensure smooth operation.
6.2 Addressing Loose or Worn-Out Parts
If the blade assembly is loose, tighten it using the provided wrench. For worn-out parts, replace them immediately to avoid further damage. Regularly check the blade and motor connections for wear. If the chopper attachment is loose, secure it by aligning the tabs properly. Replace any damaged or excessively worn parts with genuine Cuisinart accessories to maintain performance and safety.
Inspect the blender’s gears and bearings for signs of wear. If the motor housing is loose, tighten the screws firmly. Always turn off and unplug the blender before attempting any repairs. For severe damage, contact Cuisinart customer support for professional assistance or replacement parts.
Recipes Tailored for the Cuisinart Hand Blender
Discover a variety of dishes, from creamy soups to smooth purees, vibrant smoothies, and decadent desserts. The blender’s precision ensures perfect results for every recipe.
Use it to whip up healthy smoothies, blend hearty soups, or mix fluffy desserts. Its versatility makes it ideal for both savory and sweet culinary creations effortlessly.
7.1 Simple Soups and Purees
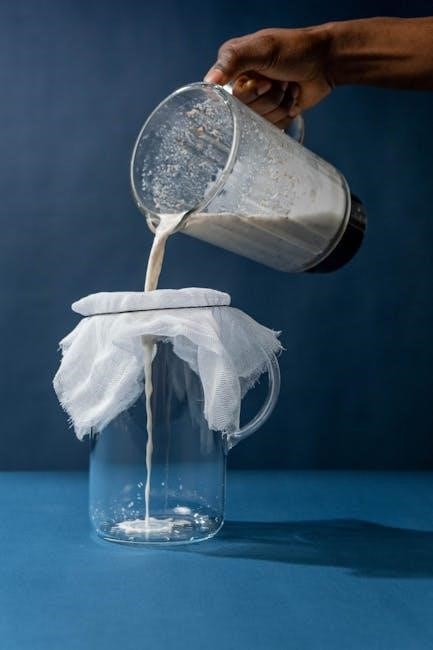
Create delicious soups and purees effortlessly with the Cuisinart Hand Blender. Perfect for ingredients like potatoes, leeks, and squash, its precision blade ensures smooth textures. For a creamy potato-leek soup, blend cooked potatoes, leeks, and broth until velvety. Alternatively, puree roasted butternut squash with garlic and cream for a comforting side dish. The blender’s portability allows you to blend directly in pots or bowls, making cleanup a breeze.
For hot mixtures, let them cool slightly before blending to avoid splashing. This method ensures safety while achieving professional-grade results in the comfort of your kitchen.
7.2 Smoothies and Desserts
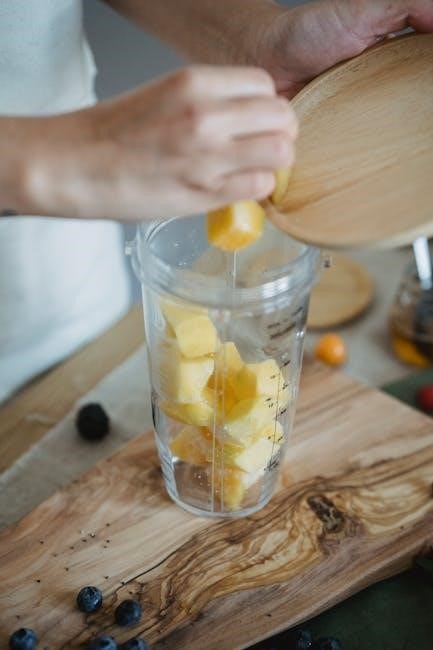
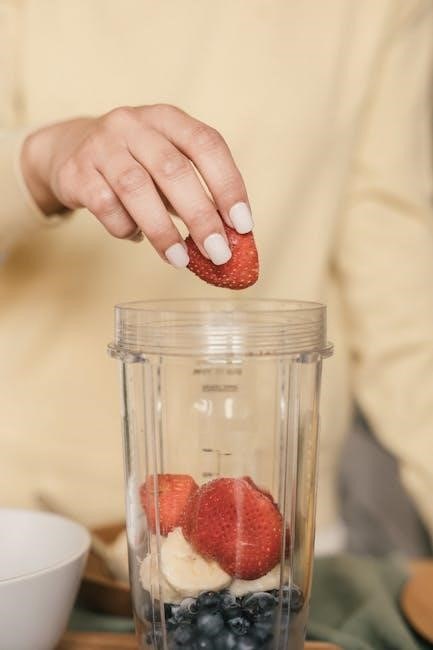
Effortlessly craft refreshing smoothies and decadent desserts with the Cuisinart Hand Blender. Combine fresh fruits, yogurt, and milk for a quick, healthy smoothie. For a tropical treat, blend pineapple, mango, and coconut milk. The blender’s portability allows you to mix directly in bowls or pitchers, ensuring a smooth texture every time.
For desserts, puree cooked fruits with sugar or honey to create flavorful toppings for ice cream or pancakes. Use the low setting to emulsify mixtures, then switch to high for a silky finish. This versatile tool makes dessert preparation quick, easy, and enjoyable, perfect for any sweet craving.

Warranty and Customer Support Information
The Cuisinart Hand Blender is backed by a limited warranty covering defects in material and workmanship. For inquiries or assistance, visit the official Cuisinart website or contact their customer service team for support.
8.1 Understanding the Warranty Coverage
The Cuisinart Hand Blender is covered by a limited warranty that protects against defects in material and workmanship for a specified period, typically one year from purchase. This warranty excludes damage caused by misuse, improper cleaning, or normal wear and tear. For full details, refer to the product manual or visit the official Cuisinart website. Warranty claims may require product registration and proof of purchase.
8.2 Contacting Cuisinart Customer Service
For assistance with your Cuisinart Hand Blender, visit the official Cuisinart website or call their customer service at 1-800-726-0190. Have your product model number and purchase date ready. The website also offers resources like manuals, troubleshooting guides, and FAQs to help resolve common issues. For warranty claims or repair inquiries, contact support via phone or email for prompt assistance.

Accessories and Attachments Overview
The Cuisinart Hand Blender comes with a variety of attachments, including a chopper/grinder for processing nuts and herbs and a whisk for mixing sauces and batters.
9.1 Exploring the Chopper/Grinder Attachment
The Cuisinart Hand Blender’s chopper/grinder attachment is designed for versatile use, featuring a reversible blade with sharp and blunt sides for chopping nuts, herbs, and grinding spices. It’s perfect for preparing ingredients efficiently. Regular cleaning ensures optimal performance, and the attachment is easy to detach for maintenance. This accessory enhances the blender’s functionality, making it a must-have for various kitchen tasks.
9.2 Optional Accessories for Enhanced Functionality
Optional accessories like a whisk attachment, extra blending cups, and interchangeable blades can enhance your Cuisinart Hand Blender experience. These additions allow for tasks like whipping cream, pureeing soups, or chopping ingredients with precision. A storage case is also available to keep all parts organized. These accessories expand the blender’s versatility, making it suitable for a wide range of culinary tasks and improving overall efficiency in the kitchen.
Tips for Extending the Life of Your Blender
Regularly clean and dry the blender to prevent residue buildup. Store it upright in a dry place. Avoid overheating by allowing the motor to cool between uses.
10.1 Avoiding Overheating and Motor Strain
To prevent overheating, allow the motor to cool for 10-15 minutes between extended uses. Avoid continuous operation beyond recommended time limits. Store the blender upright in a well-ventilated area to ensure proper airflow. Never block the ventilation openings, as this can cause heat buildup. Regularly check for and replace worn parts to maintain efficiency and reduce strain on the motor.
10.2 Regular Maintenance for Optimal Performance
Regularly clean the blender after each use to prevent food residue buildup. Dry all parts thoroughly to avoid rust or mold. Inspect blades and attachments for wear and tear, replacing them as needed. Lubricate moving parts periodically to ensure smooth operation. Store the blender in a dry, cool place to maintain its performance and extend its lifespan. Adhere to the manufacturer’s maintenance guidelines for optimal results.
Leave a Reply
You must be logged in to post a comment.