A well-organized backpacking gear checklist is essential for any adventurer, ensuring you’re fully prepared for the trail. This PDF guide provides a comprehensive, categorized list of must-have items, from core gear to personal care essentials, helping you save time and reduce stress. Customize it to suit your trip’s specific needs and ensure confidence and readiness for your next adventure!
Why a Checklist is Essential for Backpacking
A checklist is a vital tool for backpacking, ensuring you never forget essential gear. It saves time, reduces stress, and helps you stay organized. By covering all categories—from clothing to safety items—it prevents oversights and guarantees preparedness. Customizing a checklist allows you to tailor it to your trip’s specifics, while its comprehensive nature ensures you’re ready for any situation. It’s a cornerstone of responsible and enjoyable backpacking.
How to Use This PDF Checklist Effectively
To maximize the PDF checklist, start by reviewing each category thoroughly. Customize it by adding or removing items based on your trip’s duration and conditions. Print or download it for easy access, and use it during packing to ensure no essentials are missed. Annotate and update the list after each trip to refine your gear choices. This approach ensures efficiency and preparedness for every adventure.
Core Gear for Backpacking
Essential core gear includes a sturdy backpack, reliable tent, warm sleeping bag, comfortable sleeping pad, and a bright headlamp. These basics form the foundation of your backpacking setup.
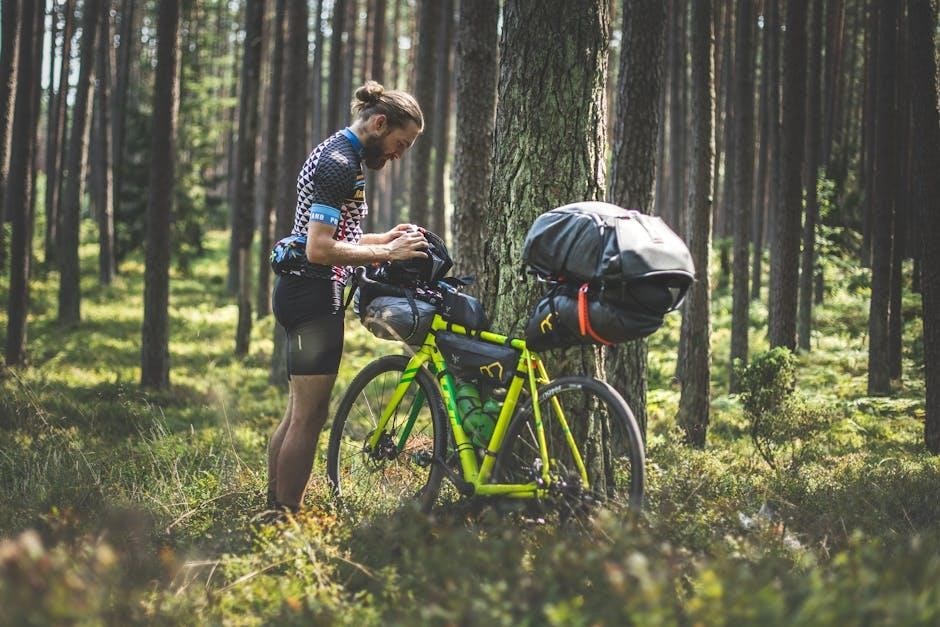
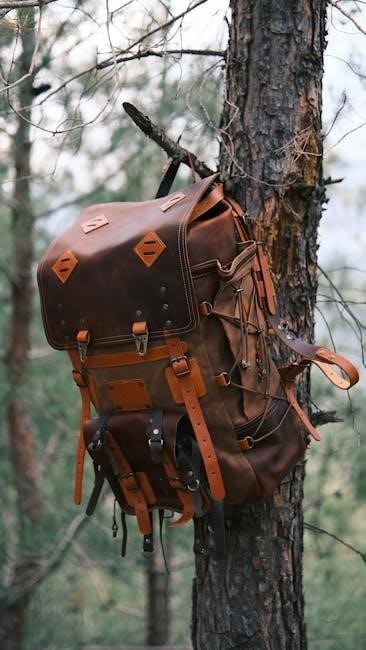
Backpack
A durable, comfortable backpack is crucial for backpacking. Opt for a 70-95 liter capacity with an internal or external frame, ensuring it fits your gear and food. Features like multiple compartments, weather-resistant material, and padded straps enhance usability. Proper fitting is key to avoid discomfort during long hikes. Consider lightweight options without sacrificing durability. Adjustability ensures it suits various body types, making it a reliable companion for your adventure.
Tent or Shelter
A lightweight, waterproof tent is vital for backpacking, offering protection from harsh weather. Choose a model with a sturdy frame, easy setup, and good ventilation. Consider a two-person tent for extra space. Include poles, stakes, and a footprint for durability. Tarps or hammocks are alternatives for minimalist trips. Ensure your shelter accommodates seasonal needs, such as snow load capacity in winter or bug netting in summer. Always check reviews for reliability.
Sleeping Bag
A sleeping bag is crucial for staying warm and comfortable during your backpacking trip. Choose one with a temperature rating suitable for your destination’s climate. Consider lightweight, compressible options with down or synthetic insulation. Include a compression sack for easy packing. Opt for a bag with a waterproof shell to protect against moisture. Ensure it fits your body well, balancing warmth, weight, and reliability for a restful night’s sleep under the stars.
Sleeping Pad
A sleeping pad provides essential comfort and insulation from the ground. Choose between inflatable or foam options, balancing weight, durability, and insulation needs. Look for pads with a high R-value for colder conditions. Lightweight options are ideal for long-distance trips, while thicker pads offer more comfort. Ensure the pad fits your tent and body length, providing adequate support for a restful night’s sleep in the wilderness. Always pack a repair kit for emergencies.
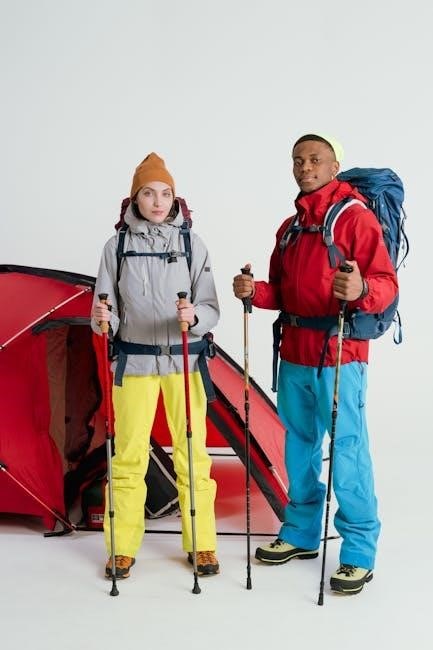
Clothing and Footwear
Dress in layers with moisture-wicking base layers, insulating mid-layers, and a waterproof jacket. Choose durable, quick-drying fabrics and sturdy hiking boots for comfort and support on the trail.
Hiking Pants and Shorts
Choose lightweight, quick-drying pants and shorts for backpacking. Opt for moisture-wicking, breathable fabrics that offer UV protection and durability. Consider convertible pants for versatility. Prioritize comfort and a relaxed fit for long hikes. Look for features like built-in belts, multiple pockets, and reinforced knees. Select neutral colors that blend with outdoor environments. Ensure pants are water-resistant and abrasion-proof for rugged trails. Pack lightweight shorts for warmer weather.
Moisture-Wicking Base Layers
Moisture-wicking base layers are vital for regulating body temperature during backpacking. Choose breathable, synthetic materials like polyester or merino wool for optimal performance. These fabrics draw sweat away from your skin, keeping you dry and comfortable. Select long-sleeve tops and leggings for colder conditions or short-sleeve tops and lightweight bottoms for warmer weather. Look for seamless construction to prevent chafing during extended hikes. Pack a few sets to ensure freshness throughout your trip. Ensure proper fit for maximum efficiency.
Insulating Layers and Jacket
Insulating layers are crucial for maintaining warmth in cold conditions. Opt for a lightweight down or synthetic jacket with a high loft for maximum insulation. Consider a water-resistant finish to protect against rain. Include a fleece jacket or pullover for added warmth during cooler mornings and evenings. A down vest can also provide extra insulation without the bulk. Pack these items to ensure comfort and protection from fluctuating temperatures during your backpacking adventure.
Shelter and Sleeping Gear
A reliable tent, ground tarp, and sturdy stakes are essential for shelter. Include a sleeping bag rated for expected temperatures and a sleeping pad for comfort and insulation.
Tent and Ground Tarp
A lightweight, waterproof tent is crucial for shelter, while a ground tarp protects against moisture and rough terrain. Choose a tent with durable poles and stakes for secure setup.
Opt for a two-person tent for comfort or an ultralight option for minimal weight. Ensure the tent fits your group size and is easy to assemble in challenging conditions.
Sleeping Bag and Pad
A high-quality sleeping bag is vital for warmth and comfort during cold nights. Opt for one with a suitable temperature rating for your trip’s conditions. Pair it with a sleeping pad for extra cushioning and insulation, ensuring a good night’s rest. Look for lightweight, compact options to save space in your backpack while maintaining essential functionality. These items are non-negotiable for a comfortable and rejuvenating sleep in the wilderness.
Cooking and Hydration Gear
Essential for survival, this gear includes a portable stove, cooking pot, and water filter or purification tablets. These tools ensure safe hydration and nutritious meals while backpacking.
Stove and Cooking Pot
A lightweight, portable stove is crucial for backpacking, offering a reliable way to prepare meals. Pair it with a durable, compact cooking pot that’s large enough to heat water and cook for one or more. Look for a stove with good fuel efficiency and a pot with a secure lid to prevent spills. Both should be easy to clean and maintain.
Water Filter or Purification Tablets
A water filter or purification tablets are vital for safe drinking water on the trail. A filter removes bacteria, viruses, and contaminants, while tablets offer a lightweight, chemical-based solution. Choose one that suits your trip length and water sources. Ensure it’s easy to use and maintain, providing reliable access to clean water, essential for hydration and health during your backpacking adventure.
Navigation and Safety
A map, compass, and headlamp are essential for navigation. Include extra batteries and an emergency shelter. A first aid kit is crucial for safety and minor injuries;
Map and Compass
A detailed topographic map and a reliable compass are vital for navigation. Choose a map with a scale suitable for your route and ensure it’s waterproof. A baseplate compass with a rotating bezel and magnetic needle is ideal for accurate bearings. Always carry extra batteries for your compass if it’s electronic. These tools are indispensable in remote areas with limited GPS coverage. Pack them securely to avoid damage during your trip.
Headlamp and Extra Batteries
A headlamp is crucial for navigating and setting up camp after dark. Opt for an LED model with adjustable brightness and red light mode to preserve night vision. Always pack extra batteries to ensure your light source remains reliable. Consider a rechargeable option for longer trips. Store the headlamp and batteries in easy-to-access pockets to avoid fumbling in the dark. This gear is essential for safety and convenience.
Personal Care Items
Pack essential toiletries like toothbrush, toothpaste, and biodegradable soap. Include toilet paper, hand sanitizer, and any personal hygiene items. Keep them lightweight and easily accessible for convenience.
Toiletries and Hygiene Essentials
Don’t forget to include a toothbrush, toothpaste, and biodegradable soap for personal hygiene. Add toilet paper, hand sanitizer, and wet wipes for cleanliness. A small first-aid kit with band-aids and antiseptic wipes is crucial. Pack feminine hygiene products if needed. Choose multi-use items to save space and reduce weight. Keep toiletries in a waterproof pouch for easy access and protection.
Additional Accessories
Add a first-aid kit, emergency shelter, and bivvy sack for safety. Include extra batteries, a repair kit, and a lightweight camp chair for comfort. Stay prepared!
First Aid Kit
A first-aid kit is crucial for treating minor injuries. Include bandages, antiseptic wipes, pain relievers, blister care, and any personal medications. Ensure it’s lightweight and easily accessible. Customize based on trip length and group size. Don’t forget items like gloves and a first-aid manual. A well-stocked kit helps prevent small issues from becoming serious problems. Always check expiration dates before packing. Portability and necessity are key.
Emergency Shelter and Bivvy Sack
An emergency shelter and bivvy sack are vital for unexpected weather or injuries. A lightweight bivvy sack provides protection from wind and rain, while a compact emergency shelter offers additional safety. Both should be easy to carry and deploy quickly. Include a space blanket for extra warmth. These items are lifelines in harsh conditions, ensuring you stay dry and warm. Always pack them in an accessible part of your backpack.

Tips for Using the Checklist
Review the checklist before each trip to ensure all items are packed. Cross off non-essentials to save space and weight. Regularly update your list based on changing weather and personal preferences. Use the PDF format for easy customization and sharing with fellow hikers. This organized approach guarantees a stress-free and enjoyable backpacking experience every time you adventure into the wild.
How to Customize the Checklist for Your Needs
To tailor the checklist, assess your trip’s duration, weather conditions, and personal preferences. Highlight essential items and remove those unnecessary for your specific adventure. Add notes or comments to remind yourself of specific gear requirements or substitutions. Ensure all items fit within your backpack and meet weight constraints. This personalized approach guarantees you’re prepared without overpacking, making your backpacking experience more efficient and enjoyable. Regular updates keep your checklist relevant for future trips.
Importance of Lightweight Packing
Lightweight packing is crucial for backpacking, reducing physical strain and enhancing mobility. It allows for longer hikes with less fatigue, ensuring a more enjoyable experience overall.
How to Minimize Weight Without Sacrificing Essentials
To minimize weight, choose multi-functional gear and prioritize lightweight materials. For example, a compact tent and a sleeping bag with a high warmth-to-weight ratio can save pounds. Replace heavy items like steel utensils with titanium or silicone alternatives. Avoid overpacking clothes by selecting moisture-wicking, quick-drying fabrics. Use a checklist to ensure you only bring what’s necessary.
Seasonal Considerations
Adapt your gear to the season with lightweight fabrics for summer and insulated layers for winter. Ensure your checklist reflects weather-specific essentials for a safe trip.
Adjusting Gear for Different Weather Conditions
When preparing for backpacking, it’s crucial to tailor your gear to the weather. For rainy conditions, include a waterproof jacket and pants. In cold weather, pack insulated layers, a warm hat, and gloves. Summer trips require lightweight, breathable clothing and sun protection. Always check the forecast and adjust your checklist accordingly to ensure you’re prepared for any conditions.
Downloading and Customizing the PDF
Access the backpacking gear checklist PDF online, then download and customize it to fit your trip’s specific needs. Make adjustments easily to ensure it suits your adventure perfectly.
How to Access and Modify the Checklist
To access and modify the backpacking gear checklist PDF, download it from a trusted source. Open the file using a PDF editor or spreadsheet program. Review each category, checking off items as you pack them. Add or remove sections based on your trip’s specifics. Customize the list to include personal preferences and gear. Save your edited version for future trips.
A well-prepared backpacker is a confident one. Use this checklist to ensure a safe, enjoyable trip. Happy trails to unforgettable adventures!
Final Thoughts on Preparing for Your Backpacking Trip
Preparation is key to a successful backpacking adventure. A detailed gear checklist ensures you don’t overlook essentials, allowing you to focus on enjoying the journey. Customize your list based on the season and terrain, pack lightly, and double-check everything before departure. With the right mindset and gear, you’ll be ready to embrace the challenges and beauty of the great outdoors.