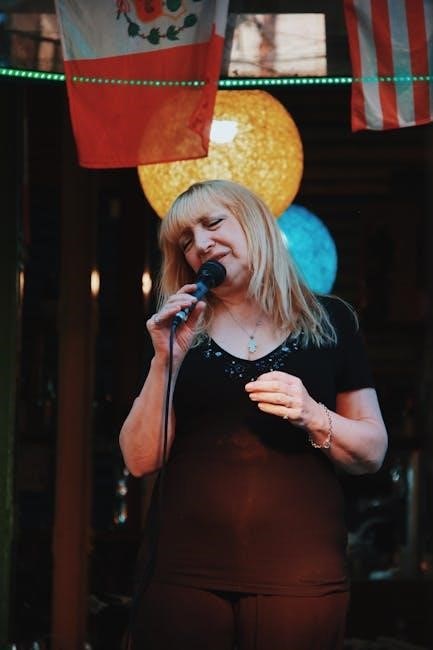
Chanson de Camp de Jour are cherished Quebec traditions that foster community and joy through timeless melodies․ Their availability in PDF formats ensures easy access for learning and sharing․
Definition and Significance
Chanson de Camp de Jour, or day camp songs, are traditional French-Canadian tunes sung during outdoor and group activities․ These songs are simple, catchy, and rich in cultural heritage, making them a cornerstone of Quebec’s communal life․ Their significance lies in their ability to unite people across generations, fostering a sense of belonging and shared identity․
Passed down through generations, these songs reflect themes of nature, friendship, and joy, resonating deeply with Quebec’s cultural values․ Their repetitive structures and memorable lyrics ensure accessibility for all ages, while their collective nature encourages teamwork and inclusivity․ Available in PDF formats, these songs remain a vital part of Quebec’s linguistic and cultural preservation, ensuring their legacy endures for future generations․
Chanson de Camp de Jour are more than just melodies; they are a vibrant expression of community and shared experiences․ Their timeless appeal lies in their simplicity and their ability to connect people with the natural world, making them a cherished tradition in Quebec’s outdoor and educational activities․
Historical Background
Chanson de Camp de Jour traces its roots to French-Canadian folklore, with many songs originating in the early 20th century․ These tunes were initially shared orally, reflecting the provinces rich musical heritage․ They gained prominence in social gatherings, outdoor activities, and scouting groups, becoming a staple of communal life․
Over time, these songs evolved, blending traditional folk elements with modern adaptations․ Their simplicity and repetitive structures made them accessible to all, fostering a sense of unity․ The transition from oral tradition to written and digital formats, such as PDFs, has ensured their preservation and widespread availability․
Today, Chanson de Camp de Jour remains deeply rooted in Quebecs cultural identity, connecting past and present through music․ Their enduring appeal highlights their historical significance as a vibrant expression of community and shared heritage․
Role in Quebec’s Cultural Heritage
Chanson de Camp de Jour holds a vital place in Quebec’s cultural heritage, serving as a vibrant expression of French-Canadian identity․ These songs reflect the province’s deep-rooted traditions and values, preserving linguistic and cultural legacy․ They are often sung during community gatherings, outdoor activities, and educational programs, fostering unity and pride in Quebec’s heritage․
Their widespread popularity stems from their ability to transcend generations, connecting past and present․ Many organizations and educators use these songs to teach children about language, teamwork, and cultural values․ PDF resources, including lyrics and sheet music, have made them easily accessible for learning and sharing․
By preserving and celebrating these traditions, Chanson de Camp de Jour continues to play a central role in Quebec’s cultural landscape, ensuring their legacy endures for future generations․
Popular Chansons de Camp de Jour
Beloved traditions like Larbre est dans ses feuilles, Si tu aimes le soleil, and Ursule bring joy and unity to Quebec’s cultural life through their timeless melodies and shared performances․
Larbre est dans ses feuilles
Larbre est dans ses feuilles is a timeless and beloved chanson de camp de jour, cherished for its engaging rhythm and nature-inspired lyrics․ This classic song features repetitive verses and a catchy chorus, making it easy for both children and adults to learn and sing together․ Its popularity stems from its ability to foster teamwork and unity, as participants often perform it with accompanying gestures․ Many camp leaders utilize PDF versions of the song, which include lyrics and chord progressions, to teach it effectively․ The song’s simplicity and connection to the natural world make it a staple in camp programs and outdoor activities․ Its enduring appeal ensures it remains a cherished part of camp traditions, bridging generations and continuing to inspire joy and camaraderie among all who sing it․
Si tu aimes le soleil
Si tu aimes le soleil is a cherished chanson de camp de jour, celebrated for its cheerful and uplifting melody․ The song’s lyrics revolve around themes of joy, nature, and collective celebration, making it a perfect fit for outdoor gatherings and camp activities․ Its repetitive structure and simple language ensure that participants of all ages can easily join in, fostering a sense of unity and shared experience․ Many camp leaders utilize PDF versions of the song, which often include lyrics and musical arrangements, to teach it to their groups․ The song’s interactive nature, with opportunities for gestures and call-and-response, further enhances its appeal․ It not only entertains but also educates, teaching children about teamwork and the beauty of nature․ Its timeless charm ensures it remains a favorite among campers and leaders alike, creating lasting memories for all who sing it․
Ursule
Ursule is a delightful and iconic chanson de camp de jour that captivates audiences with its playful rhythm and engaging lyrics․ This song tells a charming story, often accompanied by gestures, making it a favorite among campers․ Its simplicity and catchiness allow children to quickly learn and participate, fostering a sense of joy and camaraderie․ Leaders frequently use PDF versions of Ursule, which include lyrics and melodies, to teach the song during camp activities․ The song’s ability to bring people together and create memorable experiences has solidified its place in the hearts of many․ Its enduring popularity ensures that Ursule remains a timeless gem in the repertoire of Quebec’s day camp songs, preserving cultural heritage while inspiring new generations to sing and celebrate together․
Le Feu de Camp
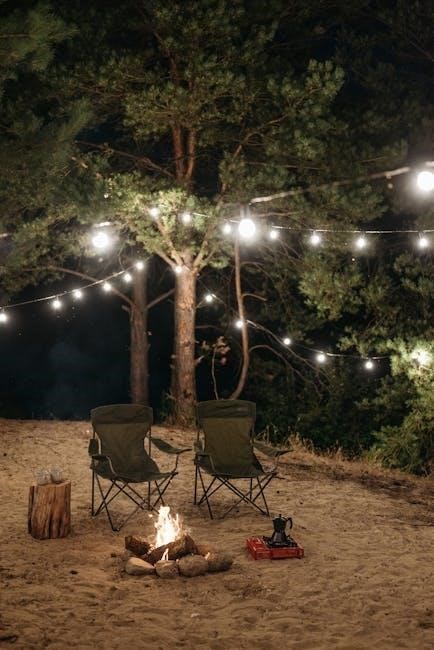
Le Feu de Camp is a classic and deeply cherished chanson de camp de jour, often sung around campfires to celebrate warmth, unity, and the beauty of nature․ Its simple yet powerful melody, combined with repetitive and evocative lyrics, makes it easy to learn and sing collectively․ The song’s themes of togetherness and shared joy resonate with participants of all ages, fostering a sense of camaraderie․ Many camp programs feature Le Feu de Camp as a staple, using PDF resources that include lyrics and chord progressions to ensure accessibility․ This timeless tune not only entertains but also connects people to Quebec’s cultural heritage, making it a beloved tradition that continues to inspire new generations; Its enduring appeal lies in its ability to evoke emotions and create lasting memories around the campfire․
Les Chansons de Noël
Les Chansons de Noël are a delightful collection of Christmas-themed songs within the chanson de camp de jour tradition, blending festive joy with Quebec’s cultural heritage․ These songs, often sung during holiday gatherings and camp activities, feature cheerful melodies and lyrics that celebrate the spirit of Christmas․ Many of these carols are passed down through generations, preserving French-Canadian linguistic and musical traditions․ PDF resources are widely available, offering lyrics and sheet music for these timeless tunes․ Les Chansons de Noël are not only a source of entertainment but also a way to educate children about cultural values and the importance of community․ Their simplicity and repetitive structures make them accessible to all ages, fostering participation and shared joy during the holiday season․ These songs remain a cherished part of Quebec’s festive traditions, connecting past and present through music․
The Cultural Impact of Camp Songs
Chansons de camp de jour profoundly impact Quebec’s culture by fostering unity and joy through shared musical experiences․ They preserve linguistic heritage and strengthen community bonds, creating lasting traditions․
Fostering Community and Joy
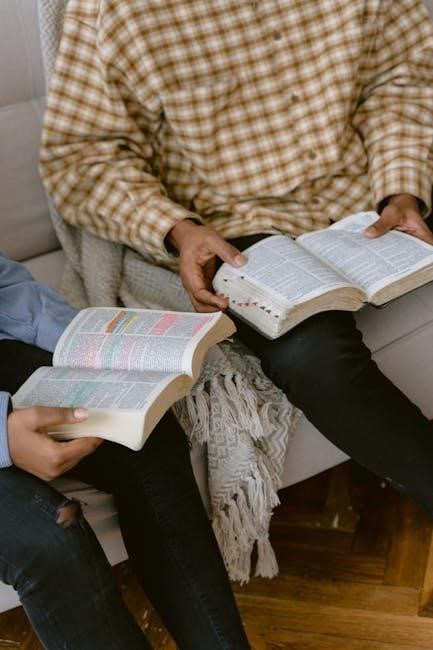
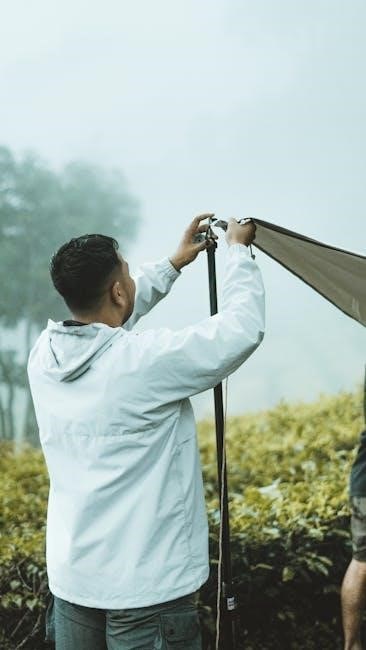
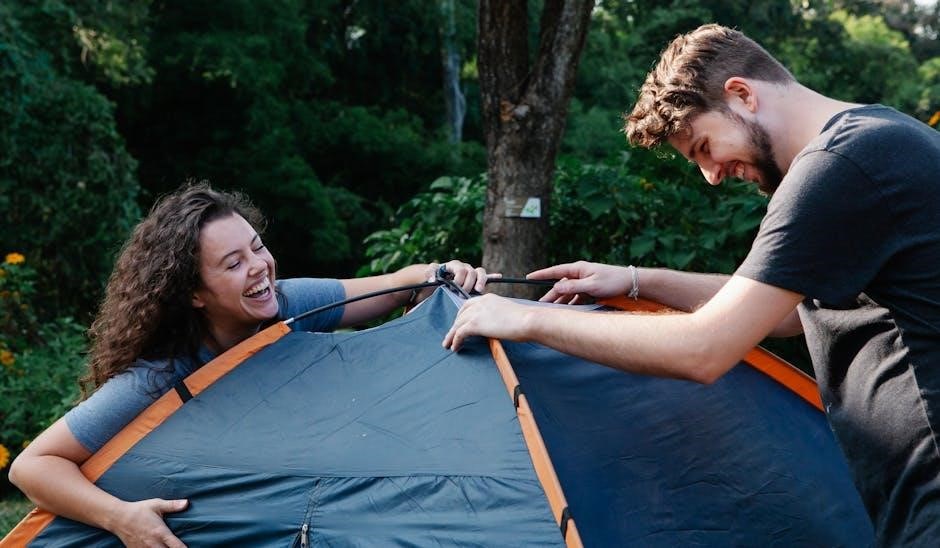
Chansons de camp de jour play a vital role in fostering community and joy by bringing people together through shared musical experiences․ These songs, often sung in groups, create a sense of belonging and unity among participants․ Their simple, repetitive melodies make it easy for everyone to join in, regardless of age or background․ Singing together around campfires or during outdoor activities strengthens social bonds and creates lasting memories․ The collective energy of these songs sparks joy and camaraderie, making them a cornerstone of community-based events․ By encouraging active participation, they also promote inclusivity and teamwork, ensuring that no one feels left out․ The availability of chanson de camp de jour PDF resources further supports their widespread adoption, allowing leaders and participants to easily learn and share these timeless tunes․
Preserving Linguistic and Cultural Heritage
Chansons de camp de jour are a vital part of Quebec’s linguistic and cultural heritage, preserving French-Canadian traditions through their timeless melodies and meaningful lyrics․ These songs, passed down through generations, reflect the province’s rich history and cultural identity․ By teaching them in camps and schools, they ensure the survival of the French language and folklore․ Many chanson de camp de jour PDF resources include historical notes, making them valuable tools for cultural education․ The songs’ themes of nature, friendship, and daily life resonate deeply, connecting modern audiences to their heritage․ Their continued popularity ensures that Quebec’s linguistic and cultural traditions remain vibrant, bridging the gap between past and present for future generations to enjoy and cherish․
Role in Education and Recreation
Chansons de camp de jour play a significant role in education and recreation, serving as engaging tools for learning and fun․ These songs are widely used in camps, schools, and outdoor activities to teach language, teamwork, and cultural values․ Their simple melodies and repetitive structures make them ideal for children, fostering creativity and unity․ Many educational programs incorporate chanson de camp de jour PDF resources, which include lyrics, gestures, and activities, to create interactive learning experiences․ They also promote physical and emotional well-being through movement and shared joy․ By blending education with recreation, these songs provide a holistic approach to development, helping children grow while enjoying the beauty of music and nature․ Their adaptability ensures they remain a cornerstone of both educational and recreational settings in Quebec;
Connecting Past and Present
Chansons de camp de jour serve as a vibrant bridge between past and present, preserving cultural heritage while remaining relevant in modern times․ These songs, passed down through generations, maintain their traditional essence but are now accessible in formats like chanson de camp de jour PDF, making them easier to share and learn․ They connect modern campers with the experiences of their ancestors, fostering a sense of continuity and shared identity․ Singing these songs creates a timeless experience, where generations unite through music and shared traditions․ Their enduring appeal ensures that they continue to inspire new adaptations, blending history with contemporary influences․ By keeping these songs alive, they remain a cherished part of Quebec’s identity, connecting past and present in a celebration of music and culture․
Resources for Learning Chansons de Camp de Jour
Chanson de camp de jour PDF resources provide easy access to lyrics, sheet music, and guides, ensuring these traditional songs remain accessible and shared across generations․
Free PDF Downloads
Free PDF downloads of chansons de camp de jour are widely available, offering convenient access to lyrics, sheet music, and guides․ Websites like Chansons de Bivouac and other Quebec-based platforms provide comprehensive collections of these traditional songs․ These resources often include chord progressions, gestures, and translations, making them ideal for camp leaders, educators, and enthusiasts․ Many PDFs are designed for educational purposes, ensuring that the songs’ cultural and linguistic heritage is preserved․ They are perfect for teaching children and adults alike, fostering participation and teamwork․ With these downloads, anyone can learn and share these timeless tunes, keeping the tradition alive and vibrant for future generations․ This accessibility has made chansons de camp de jour a staple in both urban and rural settings across Quebec․
Online Platforms and Websites
Online platforms and websites have become essential resources for accessing chansons de camp de jour․ Websites like chansons-scoutes․com and groovyduck․org offer extensive collections of these traditional songs, complete with lyrics, sheet music, and guides․ Many platforms cater to both French and English speakers, ensuring accessibility for a broader audience․ These sites often feature interactive tools, such as chord charts and melody samples, to aid in learning․ Some platforms also allow users to contribute their own arrangements or translations, fostering a sense of community․ Additionally, websites like Chansons de Bivouac provide curated playlists and PDF downloads, making it easier for camp leaders and educators to prepare for activities․ These online resources not only preserve the cultural heritage of these songs but also introduce them to new generations, ensuring their continued relevance and popularity in Quebec and beyond․
Sheet Music and Lyrics
Sheet music and lyrics for chansons de camp de jour are widely available, providing a valuable resource for musicians and educators․ Many websites, such as chansons-scoutes․com and groovyduck․org, offer free downloads of these materials in PDF format․ The sheet music often includes chord progressions, making it accessible for guitar and other instruments․ Lyrics are typically presented in French, preserving the cultural authenticity of the songs․ These resources are ideal for camp leaders, teachers, and enthusiasts who want to learn and share these timeless tunes․ The availability of sheet music and lyrics ensures that the musical tradition of chansons de camp de jour can be passed down to future generations, maintaining their cultural significance and educational value․
Interactive Tutorials and Guides
Interactive tutorials and guides are excellent resources for learning chansons de camp de jour․ Websites like groovyduck․org offer step-by-step guides and video tutorials that break down songs into manageable parts․ These tools are particularly useful for camp leaders and educators, providing tips on teaching the songs effectively․ Many guides include recommendations for incorporating gestures and movements, enhancing the interactive nature of the songs․ Some platforms also feature audio clips and chord charts, making it easier for participants to learn the melodies and harmonies․ These resources not only simplify the learning process but also ensure that the songs are performed authentically․ By leveraging these guides, individuals can confidently lead groups in singing chansons de camp de jour, fostering a sense of community and shared joy․
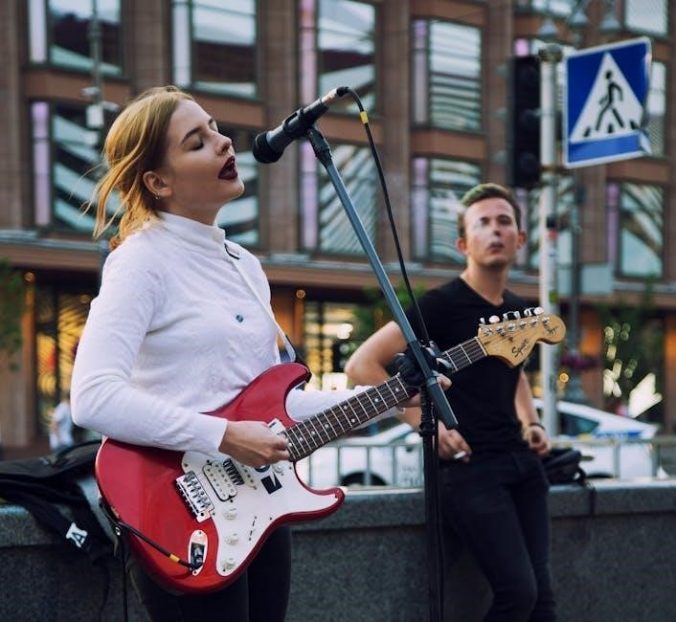
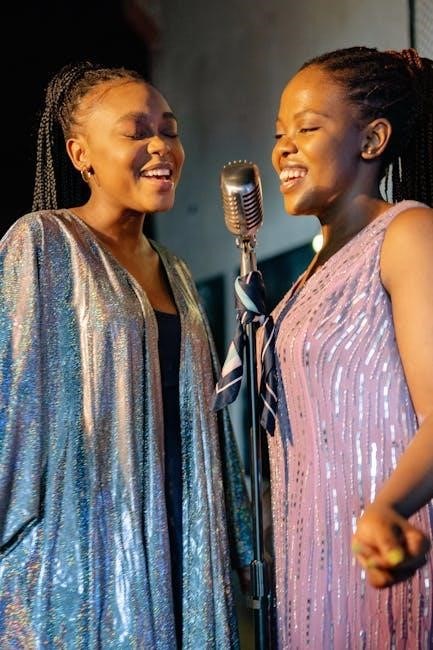
The Art of Singing Camp Songs
The art of singing camp songs fosters community, teamwork, and joy, creating timeless shared experiences through music and unity, enriching Quebec’s cultural traditions․
Encouraging Participation and Teamwork
Singing chansons de camp de jour naturally fosters participation and teamwork, as their simple, repetitive structures make them easy for everyone to join in․ The use of gestures and call-and-response patterns further engages individuals, allowing all ages to contribute․ These songs often include interactive elements, such as clapping or movements, which encourage collaboration and shared creativity․ Leaders can use PDF resources to guide participants, ensuring everyone feels included․ The collective energy of singing together strengthens bonds and promotes a sense of unity, making these songs a powerful tool for building camaraderie․ By emphasizing teamwork and shared joy, chansons de camp de jour create lasting memories while preserving Quebec’s vibrant cultural heritage for future generations․
Fostering Creativity and Self-Expression
Chansons de camp de jour provide a vibrant platform for creativity and self-expression, allowing participants to interpret and adapt melodies and lyrics in unique ways․ The availability of PDF resources, including lyrics and sheet music, empowers individuals to explore their artistic side while staying connected to the songs’ cultural roots․ Singers can invent or adapt gestures, creating personalized expressions that reflect their individuality․ This creative freedom encourages participants to step out of their comfort zones, experiment with new ideas, and share their talents․ The interactive nature of these songs, combined with their repetitive structures, makes them an ideal medium for fostering imagination and confidence․ By blending tradition with personal flair, chansons de camp de jour inspire a sense of artistic ownership, making them a powerful tool for nurturing creativity in diverse settings․
The Role of Gestures and Movements
Gestures and movements play a vital role in chansons de camp de jour, enhancing participation and engagement․ Many songs are accompanied by specific actions, such as clapping, jumping, or mimicking nature, which add a dynamic layer to the music․ These movements, often taught through PDF guides, help participants connect with the lyrics and rhythm, making the experience more immersive․ Gestures also encourage creativity, as individuals can invent or adapt movements to suit the song’s theme․ This interactive element fosters a sense of unity, as everyone moves together in harmony․ The use of call-and-response patterns further enhances this connection, creating a shared experience that transcends words․ By integrating gestures, chansons de camp de jour become a holistic expression of joy, culture, and togetherness, ensuring active involvement from all participants․
Call-and-Response Patterns
Call-and-response patterns are a distinctive feature of chansons de camp de jour, fostering active participation and engagement․ These interactive structures, often highlighted in PDF guides, allow individuals to take turns singing or repeating phrases, creating a dynamic and inclusive atmosphere․ The leader typically initiates the call, while the group responds in unison, reinforcing teamwork and camaraderie․ This pattern is particularly effective in encouraging shy or hesitant participants to join in, as it provides a sense of safety and structure․ Many traditional camp songs incorporate call-and-response elements, making them easy to learn and sing collectively․ This musical dialogue not only enhances the joy of singing but also strengthens social bonds, ensuring that everyone feels involved and valued in the shared experience․ PDF resources often include these patterns, making them accessible for leaders to teach and for participants to enjoy together․

Chanson de Camp de Jour retains its timeless charm, preserving Quebec’s linguistic and cultural heritage․ Their enduring popularity ensures they remain cherished, with PDFs keeping them accessible for future generations․
The Timeless Appeal of Chansons de Camp de Jour
The timeless appeal of chansons de camp de jour lies in their ability to connect generations through simple, memorable melodies and meaningful lyrics․ These songs, often sung collectively, foster a sense of unity and shared joy, making them a cornerstone of outdoor and community-based activities․ Their themes of nature, friendship, and camaraderie resonate universally, transcending time and cultural shifts․ The availability of PDF downloads has further ensured their accessibility, allowing new generations to discover and cherish these traditional tunes․ Their enduring popularity stems from their simplicity, making them easy to learn and sing together, while their cultural significance preserves Quebec’s linguistic and musical heritage․ As a result, these songs remain a beloved tradition, bridging the past and present through music and shared experiences․
Their Legacy in Modern Times
The legacy of chansons de camp de jour endures in modern times, with their timeless melodies and lyrics continuing to inspire new generations․ These songs remain a vibrant part of Quebec’s cultural identity, adapting to contemporary tastes while preserving their traditional charm․ The availability of PDF resources has played a significant role in their enduring popularity, making it easier for educators, camp leaders, and families to access and share these treasures․ Today, they are integral to school programs, community events, and outdoor activities, fostering a sense of continuity and shared heritage․ Their modern relevance lies in their ability to connect people across generations, promoting linguistic pride and cultural preservation․ As a result, chansons de camp de jour continue to thrive, ensuring their legacy as a cherished part of Quebec’s musical and cultural landscape for years to come․
Continuing the Tradition
The tradition of chansons de camp de jour is being carried forward through modern resources and community efforts․ Educational institutions and cultural organizations are actively promoting these songs, ensuring they remain relevant for future generations․ The availability of PDF downloads and online platforms has simplified access to lyrics and sheet music, making it easier for leaders and participants to learn and share these timeless tunes․ Workshops, festivals, and school programs also play a crucial role in preserving this heritage․ By blending traditional melodies with contemporary adaptations, the songs continue to captivate audiences while maintaining their original charm․ This dedication to preserving and sharing chansons de camp de jour ensures that their legacy endures, connecting past and present through music and fostering a sense of cultural continuity․