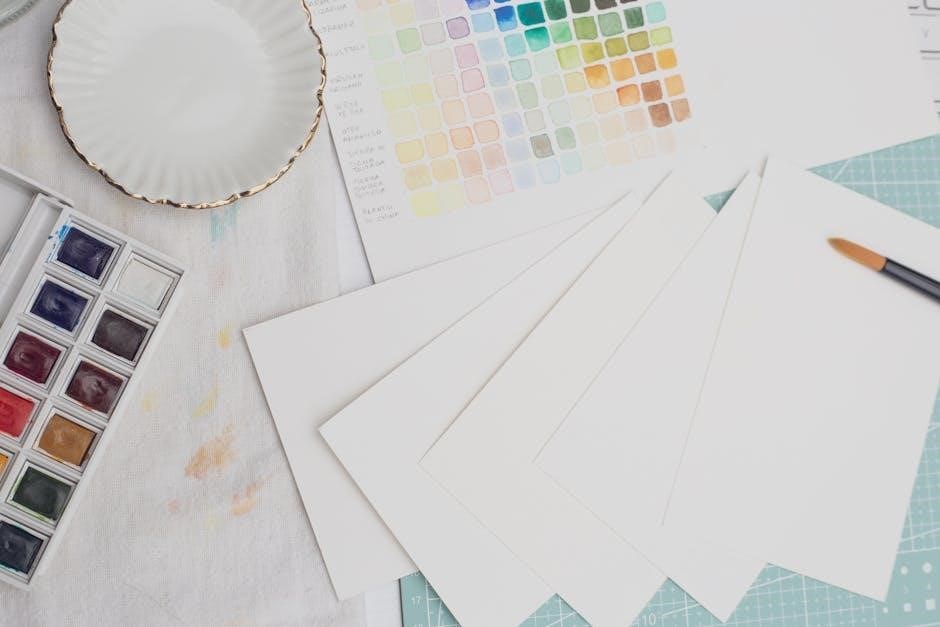
What is a Diamond Painting Color Chart?
Diamond painting color charts, often available as a free PDF, are essential guides displaying DMC thread colors used for drill selection in crafting projects․
Understanding DMC Colors in Diamond Painting
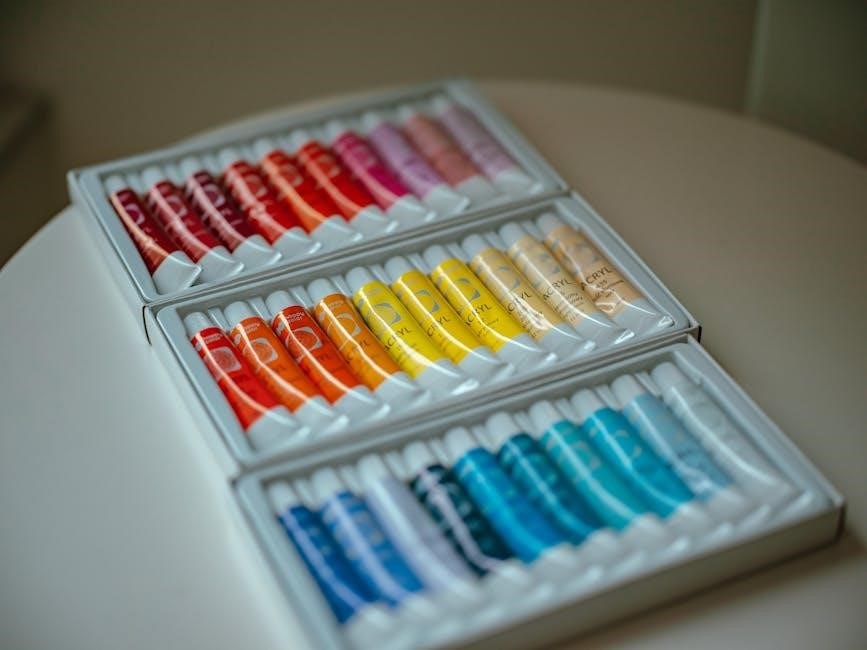
DMC colors form the foundation of diamond painting, mirroring the renowned embroidery thread color system․ These colors aren’t arbitrary; they’re standardized, allowing for precise matching between drills and the project’s symbol chart․ A free diamond painting color chart PDF displays all 447 DMC hues, each assigned a unique number․
Understanding these numbers is crucial․ Your kit’s symbol chart will indicate which DMC number corresponds to each area of the design․ Utilizing a color chart ensures you select the correct drill color, resulting in an accurate and vibrant finished piece․ It simplifies identifying and organizing drills, especially when kits don’t explicitly label drill bags with color names․
The History of DMC (Dollfus-Mieg & Company)
DMC, or Dollfus-Mieg & Company, boasts a rich history dating back to 1746 in France․ Originally focused on textile manufacturing, they became celebrated for their high-quality embroidery floss․ In the early 20th century, DMC standardized embroidery thread colors, creating a numbered chart – a system now integral to diamond painting․
This standardized color system is why a free diamond painting color chart PDF utilizes DMC numbers․ It ensures consistency across crafts․ DMC’s legacy of color accuracy and quality has made their chart the industry standard, allowing crafters to reliably match drill colors to designs, regardless of the kit’s origin․

Why Use a Diamond Painting Color Chart?
A free diamond painting color chart PDF aids in precise color matching for kits, managing leftover drills, and identifying unknown colors efficiently․
Accurate Color Matching for Kits
Diamond painting kits often utilize the DMC color numbering system, and a free PDF color chart becomes invaluable for ensuring accurate color matching․ Kits may sometimes have slight variations or ambiguities in their symbol charts․
Referring to a detailed chart allows you to confidently identify the correct drill color corresponding to each symbol, minimizing errors and frustration․ These charts visually represent each DMC color, alongside its corresponding code, making the selection process straightforward․ Utilizing a free printable resource guarantees a consistent and reliable reference point throughout your project, leading to a more satisfying and visually accurate finished piece․
Managing Leftover Drills and Identifying Colors
After completing a diamond painting, you’ll likely have leftover drills․ A free PDF color chart is crucial for organizing and identifying these remaining drills by their DMC numbers․ This prevents wasted materials and allows for easy reuse in future projects․
If drills aren’t labeled, the chart helps determine their corresponding DMC color code through visual comparison․ This is particularly useful for drills obtained from various sources or kits without clear labeling․ Proper organization, facilitated by the chart, saves time and effort when starting new diamond painting endeavors, maximizing your crafting resources․
Where to Find Free Diamond Painting Color Chart PDFs
Free diamond painting color chart PDFs are readily available from official DMC sources and numerous third-party websites dedicated to diamond art․
Official DMC Color Charts ― Printable PDFs
DMC, the renowned thread manufacturer, provides official color charts in free, downloadable PDF format directly on their website․ These charts are the gold standard for color accuracy, featuring all 447 shades of their embroidery floss․
Accessing these PDFs ensures you’re working with the most reliable color references for your diamond painting projects․ You can find comprehensive charts displaying each color alongside its unique DMC number, crucial for matching drills to your kit’s symbol chart․ These official resources are invaluable for crafters seeking precision and consistency in their artwork, guaranteeing a vibrant and accurate finished piece․
Third-Party Diamond Painting Color Charts
Beyond official DMC resources, numerous websites and diamond painting communities offer free color charts in PDF format․ These often present DMC colors in a format specifically tailored for diamond painting, sometimes including helpful visual comparisons or drill representations․
While convenient, it’s important to verify the accuracy of these third-party charts against the official DMC color guide․ Variations can occur․ Many creators compile charts focusing on commonly used colors in kits, or those designed for specific diamond types like AB drills․ These can be excellent supplemental tools, but always prioritize official references when precise color matching is essential․

Decoding a Diamond Painting Color Chart
Diamond painting charts utilize DMC color codes for drill identification; understanding these codes, alongside hex codes, is key to accurate color matching․
Understanding DMC Color Codes
DMC color codes are the cornerstone of identifying and matching colors in diamond painting, originating from the renowned French textile company, Dollfus-Mieg & Company․ These codes, typically a number (like 310 for black), are universally recognized by crafters and manufacturers alike․
A free diamond painting color chart PDF will display these codes alongside corresponding colors, allowing you to accurately select the correct drill for each symbol on your kit’s pattern․ Each DMC number represents a specific shade, ensuring consistency across projects․ Knowing these codes is vital for replacing lost drills or managing leftover supplies, streamlining your diamond painting experience․
Furthermore, understanding DMC codes facilitates communication within the diamond painting community, enabling easy sharing of color information and project tips․
Hex Codes and Color Identification
Alongside DMC numbers, a comprehensive free diamond painting color chart PDF often includes Hex codes – six-digit alphanumeric codes representing colors in digital formats (e․g․, #000000 for black)․ These codes provide an alternative method for precise color identification, particularly useful when working with digital designs or ordering drills online․
Hex codes offer a direct translation of color to computer systems, ensuring accurate reproduction on screens․ Using both DMC numbers and Hex codes allows for cross-referencing and verification, minimizing color discrepancies․
This dual system is invaluable for advanced crafters and those seeking ultimate color accuracy in their diamond painting projects, enhancing the overall visual impact of their artwork․
Types of Diamond Painting Color Charts
Free diamond painting color chart PDFs come in variations, including full 447-color DMC charts and specialized charts for AB (Aurora Borealis) drills․
Full DMC Color Charts (447 Colors)
Free PDF versions of the complete DMC color chart showcase all 447 distinct colors, providing a comprehensive resource for diamond painting enthusiasts․ These charts are invaluable when your kit doesn’t explicitly list DMC numbers, allowing for precise drill matching․
Each color is represented by a unique DMC number, alongside a visual swatch, and often includes the corresponding hex code for digital color identification․ Utilizing a full chart ensures accurate replacements if drills are missing or damaged, maintaining the integrity of your artwork․ Downloadable PDFs offer convenience, enabling easy access during your crafting sessions, and are readily available from official DMC sources and various diamond painting communities․
AB Drill Color Charts
AB (Aurora Borealis) drills introduce a dazzling iridescent effect to diamond painting, and dedicated color charts are crucial for identifying these special colors․ While based on the standard DMC chart, AB drills often have unique numbering systems or suffixes․
Free PDF AB drill charts specifically map these variations, showing the iridescent sheen alongside the base DMC color․ These charts are essential because AB colors can appear different under varying light conditions․ Finding a reliable PDF ensures accurate drill selection, maximizing the sparkle and visual impact of your finished diamond painting project․ Many online resources and communities offer these specialized charts for free download․

Using a Color Chart with Your Diamond Painting Kit
Utilize a free PDF diamond painting color chart to precisely match drill colors to the symbol chart, streamlining organization and enhancing project accuracy․
Matching Drill Colors to the Symbol Chart
Diamond painting kits come with a symbol chart, each symbol representing a specific color․ This is where a free PDF diamond painting color chart becomes invaluable․ Instead of guessing which drill corresponds to a symbol, you can cross-reference it with the DMC color code listed on the chart․
The color chart displays the DMC number alongside a visual representation of the color․ Locate the symbol’s DMC number on your kit’s chart, then find the matching color on the PDF․ This ensures you’re using the correct drill for each section of your design, preventing errors and maintaining the intended aesthetic․ Accurate matching is key to a beautiful finished piece!
Organizing Drills by DMC Number
A free PDF diamond painting color chart isn’t just for matching; it’s a fantastic organizational tool! Many painters sort their drills by DMC number before starting a project․ Using small containers or organizers, label each section with a DMC number found on the chart․
This system streamlines the painting process, eliminating time wasted searching for the correct color․ When you encounter a symbol on the chart, you immediately know which labeled container to access․ Efficient drill organization, guided by the color chart, significantly improves workflow and makes the entire experience more enjoyable and less stressful․
Troubleshooting Color Discrepancies
Free diamond painting color chart PDFs can sometimes show slight color variations due to screen settings or drill dye lots; adjustments may be needed․
Dealing with Color Variations
Free diamond painting color chart PDFs are incredibly helpful, but it’s important to acknowledge potential color variations․ These discrepancies can arise from several factors, including differences in monitor calibration, lighting conditions while viewing the chart, and even slight variations in the dye lots of the drills themselves․
What appears as a perfect match on your screen might look slightly different when the drills are applied to the canvas․ To mitigate this, compare the drill color to multiple references – the chart, the symbol on your canvas, and ideally, a physical sample if available․ Don’t panic if there’s a minor difference; often, the overall effect will still be harmonious once the entire project is completed․
What to Do if a Color Isn’t Listed
Occasionally, a diamond painting kit may include a color not directly represented on a standard free diamond painting color chart PDF․ Don’t immediately assume an error! Often, manufacturers use close DMC equivalents․ Utilize online color conversion tools – many websites allow you to input a hex code or upload an image to find the nearest DMC match․
Alternatively, consult diamond painting forums and communities; experienced crafters can frequently identify obscure colors․ If a precise match proves elusive, choose the DMC color that appears closest visually under similar lighting conditions․ Remember, slight variations are common and rarely detract from the finished artwork․
Resources for Diamond Painting Colors
Numerous online tools and vibrant diamond painting communities offer free resources, including color conversion assistance and downloadable PDF charts․
Online Color Conversion Tools
Online color conversion tools are incredibly helpful when working with diamond painting kits, especially when needing to match drill colors to the provided symbol chart․ These platforms allow you to input a DMC color code and receive corresponding hex codes, or vice versa, facilitating accurate color identification․
Several websites offer these services, often providing free access to comprehensive color databases․ You can also find tools that help convert colors from images, allowing you to match drills to specific shades within your diamond painting design․ Many crafters utilize these resources to supplement their free PDF diamond painting color charts, ensuring a seamless and enjoyable crafting experience․
Diamond Painting Forums and Communities
Diamond painting forums and online communities are invaluable resources for enthusiasts seeking assistance with color matching and identifying DMC numbers, often complementing a free PDF color chart․ These platforms host experienced crafters willing to share their knowledge and help troubleshoot color discrepancies․
Members frequently share tips on finding the best free resources, including printable color charts, and discuss variations in drill colors between kits․ Engaging with these communities provides a supportive environment to ask questions, exchange ideas, and discover new techniques for a more fulfilling diamond painting journey․